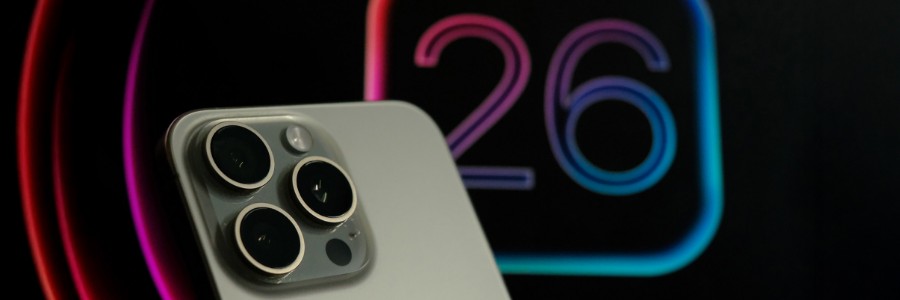
Apple has redesigned the camera interface with iOS 26, placing the flash control in a more accessible location for quicker use and smarter photography. However, if you’re finding the update a bit confusing, this guide breaks down the flash feature in iOS 26, covering its various modes and when it’s best to apply them.
Finding the flash in iOS 26
In iOS 18, the flash button was positioned in the upper-left corner of the screen. Now, in iOS 26, the flash control has moved to the right corner when in portrait mode and to the top-left corner in landscape mode. To toggle between Off and Auto, simply tap the ⚡ icon. To turn the flash on, long press this icon.
Alternatively, to make sure you’re on the right setting, you can press and hold the flash icon until a list of options appears. Then you can tap your choice instead of cycling through them. When you’re done, simply tap anywhere else on the screen to close the menu.
For a more deliberate selection, follow these steps:
- Open the Camera app.
- Tap the menu button — two rows of three dots in the top right corner of the screen in portrait orientation or the left in landscape mode.
- Tap the Flash icon to cycle through On, Off, or Auto.
Flash settings explained: What they do and when to use them
Learn how each flash setting works and when to choose the right one for your photos.
Flash On: Force the flash to fire
This setting forces the flash to activate with every shot, regardless of the lighting conditions in your environment.
The Flash On mode is most effective in the following situations:
- Dark indoor settings: In places such as clubs, basements, or poorly lit rooms where there’s little or no natural light, the flash provides essential illumination.
- Backlit scenes: When your subject is in front of a bright background, such as a window, the flash helps reduce shadowing, ensuring a well-lit subject.
- Moving subjects: In low light, the flash can momentarily freeze motion, minimizing blur caused by movement.
However, avoid using the flash when you’re too close to the subject, as it can overexpose and flatten features.
Flash Off: No flash, no matter what
With Flash Off, the flash is completely disabled, allowing you to maintain natural lighting and avoid distractions, perfect for well-lit environments.
Flash Off is most effective in the following scenarios:
- Atmospheric lighting: This mode is ideal for intimate settings such as candlelit dinners, cozy corners with lamps, or golden-hour sunsets where the flash would ruin the ambiance.
- Shiny or reflective scenes: In scenes with glass, mirrors, or glossy surfaces, turning off the flash helps prevent glare and lighting distortion.
- Places where flash is discouraged: Flash Off is essential in environments where flash photography is either prohibited or considered disruptive, such as museums, theaters, and concerts.
Auto Flash: Let your iPhone decide
The Auto setting uses onboard sensors to evaluate the lighting conditions in real time, activating the flash only when necessary.
Auto flash is ideal for the following situations:
- Mixed lighting: Use Auto in environments with fluctuating light, such as indoor/outdoor spaces, shaded areas, or cloudy days.
- Everyday photography: Auto is perfect for quick, spontaneous shots of friends, pets, or food, especially when you don’t want to worry about manual adjustments.
- Fast and easy mode: If you’re unsure whether the flash is required, Auto eliminates the guesswork, letting the camera handle the decision for you.
Additional flash tips
To maximize your flash usage, consider these additional tips:
- Use flash for fill light: Even in outdoor settings, the flash can help reduce harsh shadows, particularly under eyes or hats.
- Avoid red eye: To prevent red eye, try stepping back slightly and avoid shooting directly head-on; angling your shots can make a big difference.
- Experiment: In tricky lighting situations, take one shot with the flash and one without to compare the results.
- Use a diffuser trick: Soften the harsh light from the flash by holding a tissue or white card in front of it (just be sure not to block the lens).
The iOS 26 Camera app makes using the flash simpler and smarter, but understanding when to take control is key to getting the best results. Whether you choose to set the flash to On, Off, or Auto, making the right choice can significantly improve your photos.
For more tips on using your iOS 26 device or other Apple products, feel free to reach out. We’re here to help.